Efficient drainage is one of the important concepts in gardening, yet continues to be only vaguely understood by many gardeners. If your garden acts up in the drainage side of things, you’ll probably end up with a war zone of a garden – some plants that seem to thrive on the extra “hydration,” while others literally drown in their roots. It can be frustrating to have an uncooperative yard, but take heart – tis not so difficult to manage drainage, if you know what to do in differing wet or dry situations. The solution is in creating a raised bed.
Before you buy a plant, ensure its drainage requirements won’t be in conflict with other plants or areas/patches in which you’re planting it in. Some plants thrive in more water, others don’t.
Here’s a quick drainage test.
A simple way to quickly test how much water your designated patch of soil will retain is to dig a hole approximately a foot deep, or roughly 25 -30 cm deep. Fill the hole with water, and come back in a day when all the water has already disappeared.
 Now fill it back up again. If this time around the water isn’t gone in 10 hours, your soil has a low saturation point. This means that when water soaks into it, the water is going to hang around a long time before dissipating. This is unacceptable for most plants, so you’ll need to improve your soil drainage, if you want your plants to survive. It has to be said that soil differs from area to area, and you might be unfortunate in having thick clayey soil, which is worse, from a soil drainage viewpoint. But not to worry, this can be fixed!
Create a raised bed for your garden.
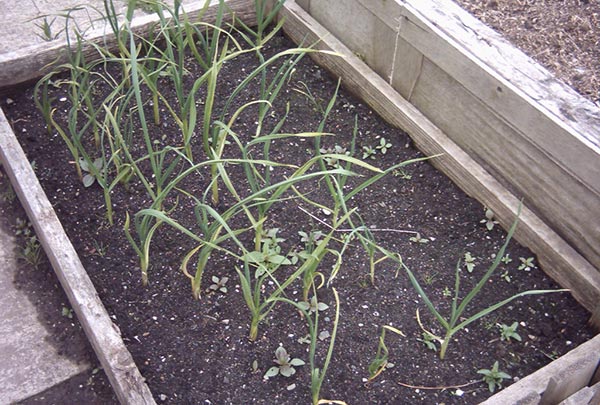
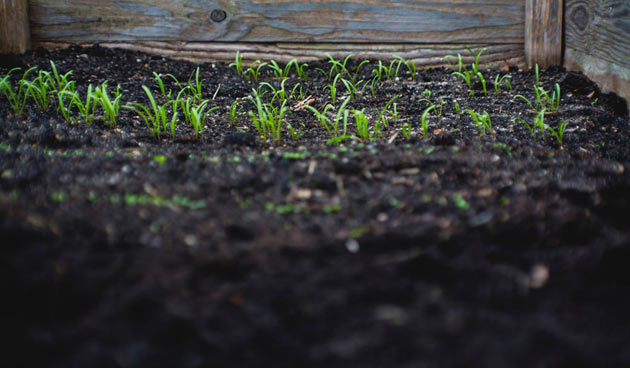
One of the easiest ways to immediately improve drainage is by creating raised beds in your garden. This involves creating a border for a small bed, and adding enough soil and compost to it to raise the bed above the general ground level of the yard by at least 12.5 cm or 5 inches. You’ll be amazed at how much your water drainage will be improved by this small modification. This is one of the main purposes of having a raised bed.
There are two different ways to create a raised bed, depending on whether the chosen patch is a grassy area, or non grassy area.
For grassy areas/sod/turf
For sod areas, it’s going to be a little tricky. You’ll need to cut the turf around the perimeter of the garden, and flip it over. You’ll need a sharp tool to cut through the turf, while at the same time being able to get under it and turn it upside down. After that, it’s best to add a layer of straw to discourage the grass from growing back up. Once the layer of straw has been added, it’s time to then add all the soil and steer manure that a normal garden would need.

For non grassy areas
Non grassy areas are less trouble than grassy areas for creating a raised bed. Just find some sort of border to retain the dirt you will be adding. After you’ve created the wall, then you can add new soil or mulch/manure. You should wait for a few days and adjust the ratio of soil/manure to compensate for any deterioration of the bed.

How to plant plants on the raised bed?
The whole point of having a raised bed is to prevent the roots of the plant from growing deep into the earthen soil, if the drainage isn’t so good to begin with. So, apart from that, there are no differences between planting on a raised bed vs planting directly in the earth.
A raised bed is a quick and easy solution for plants that are affected by poor drainage. The raised bed also helps in slowing down evaporation, and aids in root development. The benefit of raised beds are both long term and protective; raised beds are very often a component of landscape designers everywhere, these days.

